(2) Rigid windlass. A rigid windlass is needed to tighten the tourniquet
band. A windless device can be made by placing seven or eight tongue depressors
together, one on top of the other, and wrapping tape around the tongue depressors.
You can make this device and keep it in your aid bag. If you do not have such a
windlass, a strong rigid object can be used as shown in figures 5-20 and 5-21.
(3) Securing materials. Additional material is needed to secure the rigid
windlass once the tourniquet band has been tightened. A piece of cloth or cravat similar
to the tourniquet band can serve as securing material.
b. Select the Tourniquet Site. Select a site two to four inches above the edge
of the wound or amputation site.
(1) If the wound or amputation site is in the upper arm or thigh, select a site
that is two to four inches above the edge of the wound or amputation site.
(2) If the wound or amputation is below the elbow or knee, initially select a
site two inches above the edge of the wound or amputation site. If an improvised
tourniquet applied below the knee or elbow is unsuccessful at stopping the bleeding,
apply a second tourniquet two to four inches above the joint (knee or elbow). Do not
remove the first tourniquet until the second tourniquet has been applied.
Do not place a tourniquet over a joint or over a fracture site.
CAUTION:
c. Apply the Tourniquet.
(1)
Place the tourniquet band material around the tourniquet site.
(2)
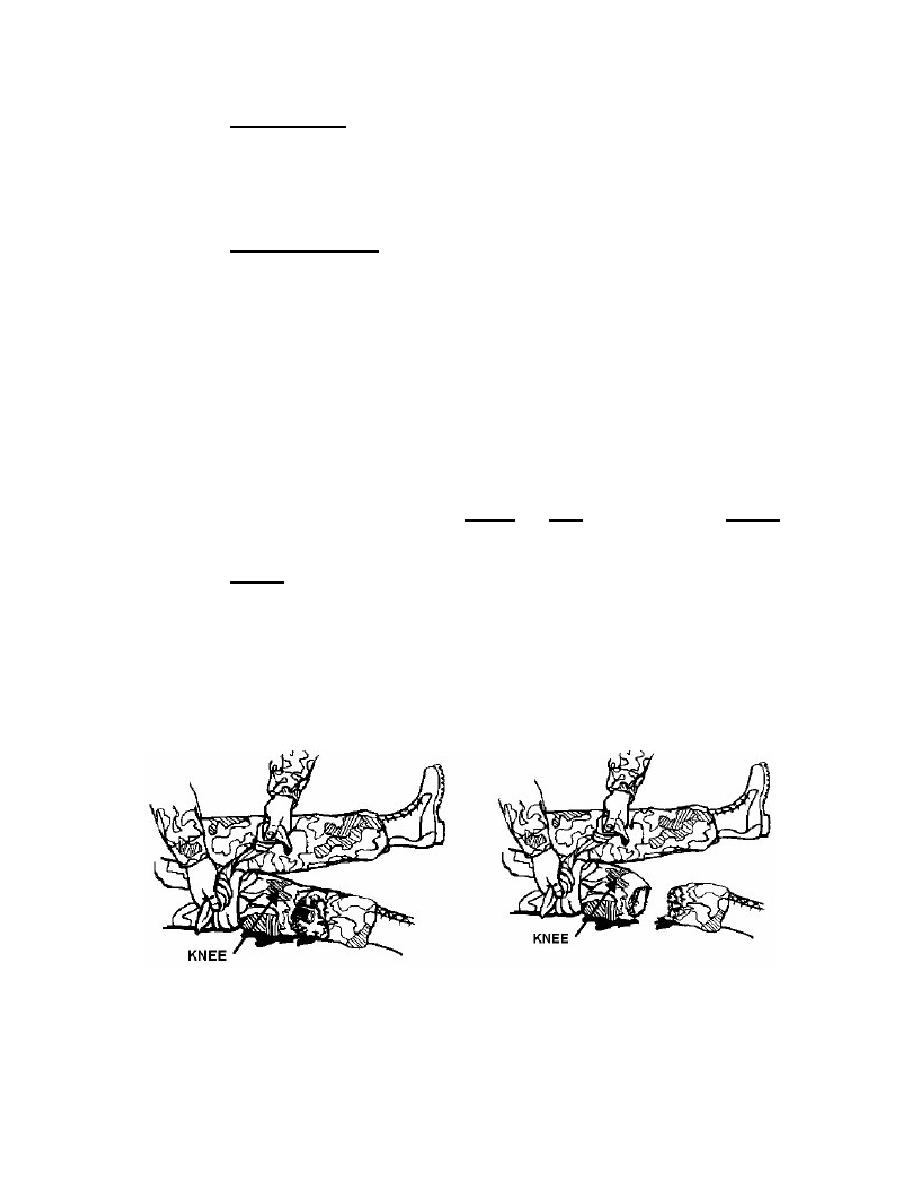
Tie the band with a half-knot (the same as the first part of tying a shoe)
(figure 5-19).
Figure 5-19. Applying an improvised tourniquet band above the knee.
IS0871
5-20


 Previous Page
