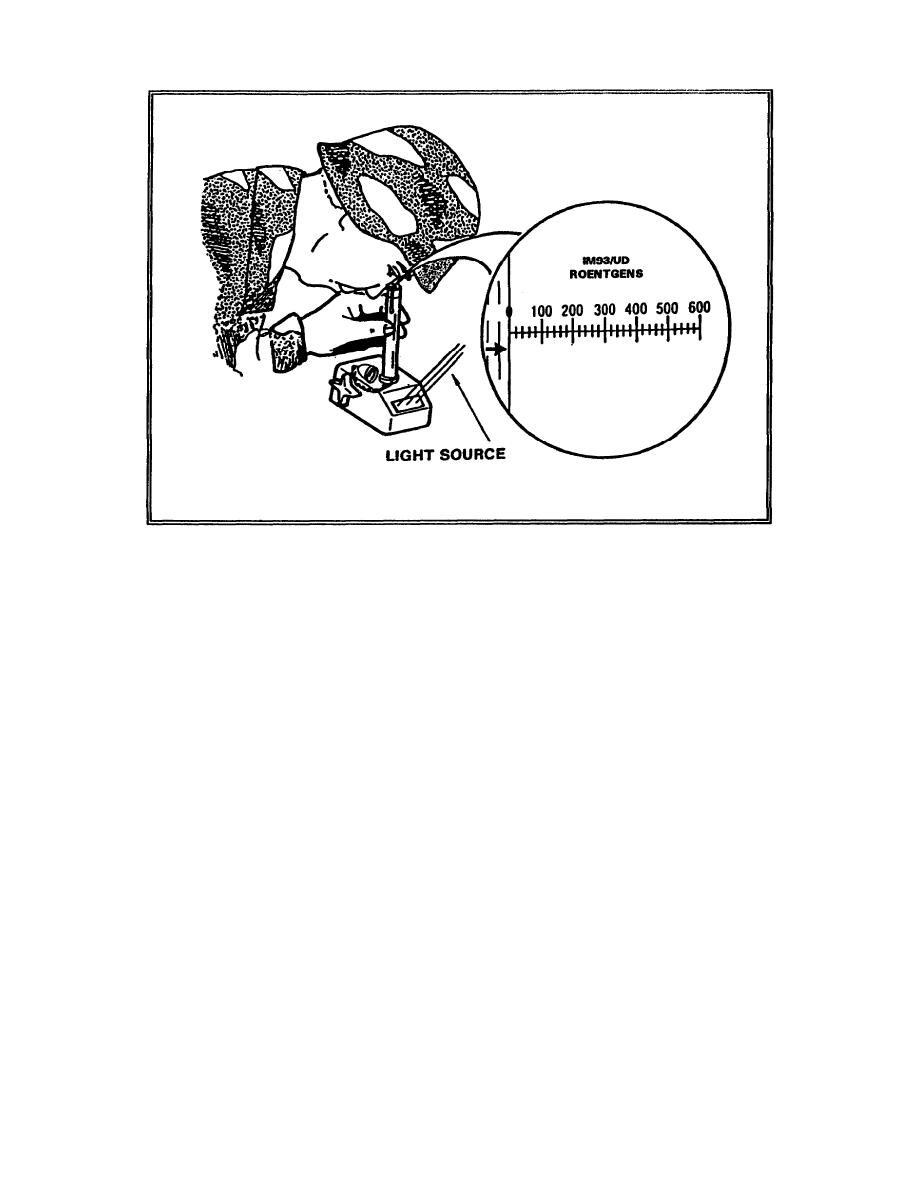
Figure 5-9.
Checking the Reading on the Calibrated Scale
Step 2.
If the indicating fiber can still be seen to move,
clean the charging end of the dosimeter. Then repeat
the charging procedure. If, after the second
charging, leakage is still evident, the dosimeter is
defective.
Step 3.
If leakage is evident when the dosimeter is installed
in the charger, but not when it is removed, clean the
charging pedestal thoroughly. Then repeat the
procedures for charging a dosimeter.
Step 4.
If leakage still is evident when the dosimeter is in
the charger, but not when it is removed, the charger
is defective. However, the charger can still be used
if it will charge a dosimeter below zero. If leakage
is evident only when the dosimeter is in the charger,
proceed as follows:
IS0345
5-10


 Previous Page
